
ChatGPT, a powerful AI tool, boasts vast knowledge across various domains like technology, business, education, history, and more. However, generative AI models rely heavily on their training data. While it utilizes a massive dataset to Train ChatGPT, it can still exhibit knowledge gaps in specific areas, especially niche fields with limited data.
This presents challenges when integrating ChatGPT into business applications. For instance, while it may assist in business planning, it might lack the contextual understanding of your specific small business dynamics. Similarly, using ChatGPT for customer support or personalized content creation could reveal limitations in its knowledge about your company, products, or individual user preferences.
The solution lies in bridging the knowledge gap through data enrichment. By providing domain-specific data or personalizing with your own information, you can significantly enhance ChatGPT’s capabilities. This empowers ChatGPT to evolve into a truly data-driven AI tool that caters to your specific needs, exceeding the limitations of a book missing crucial chapters.
How to Train ChatGPT with your Data using Custom GPTs
Imagine having a personal ChatGPT trained on your specific needs. Custom GPTs are like specialized tutors for the powerful language model. By feeding them data relevant to your field (business data in this example), you can significantly enhance ChatGPT’s knowledge in that area.
This allows you to leverage its expertise for tasks like analyzing complex business scenarios and making informed decisions. Essentially, you’re creating a custom-trained AI assistant tailored to your unique challenges.
Before diving into Custom GPTs, keep in mind that they may require a ChatGPT Plus subscription. Currently, these subscriptions are temporarily unavailable, but you can check their status at ChatGPT
Note: $20 monthly fee applied when subscriptions resume
Step 1: Power Up Your New Custom GPT
- Head over to chat.openai.com and sign in to your Plus account.
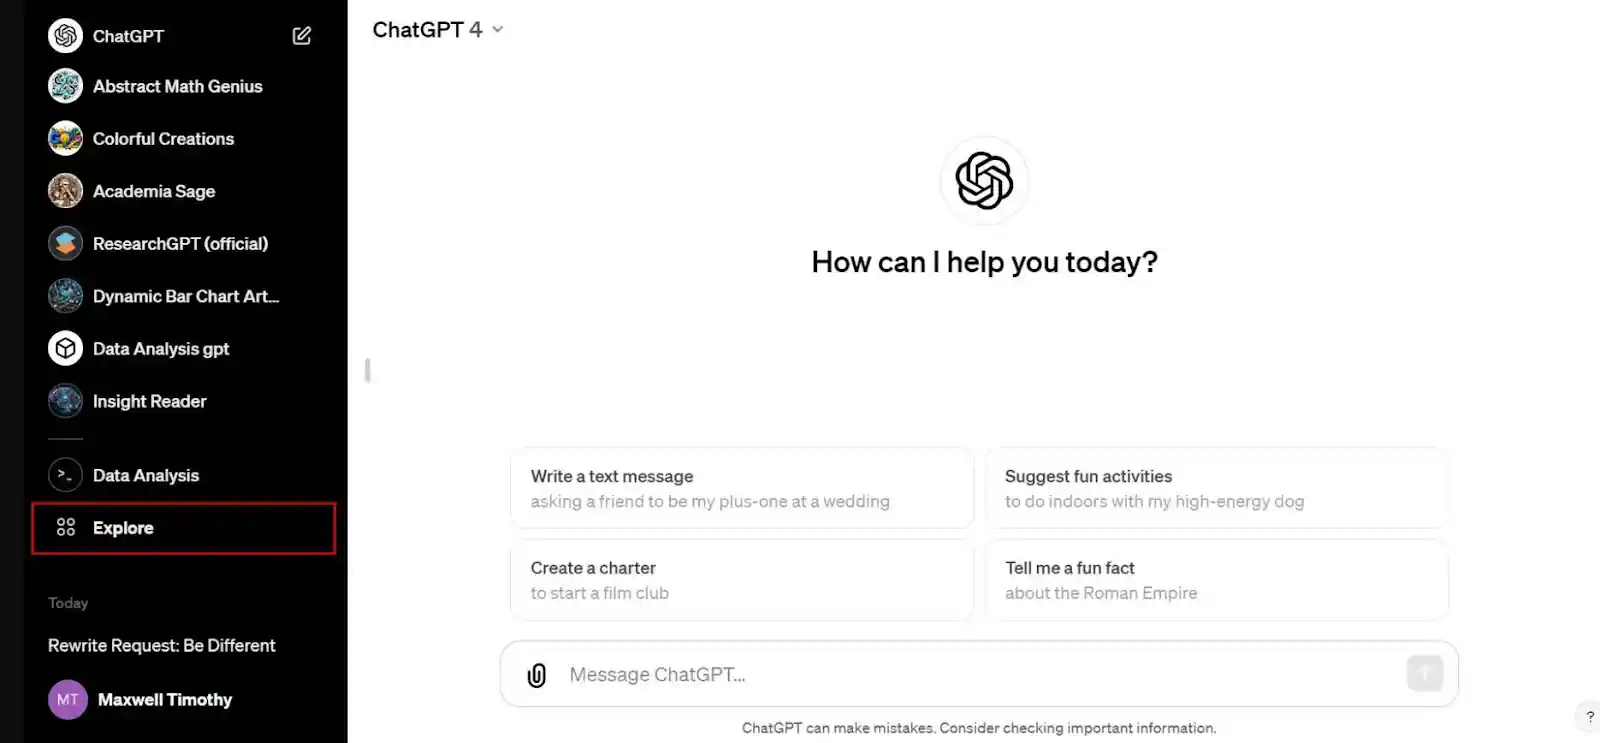
- Once logged in, navigate to the “Explore” section on the left-side menu. This will take you to the “My GPTs” page where you can create your custom AI companion.

3. Click the “Create GPT” button on the page. This will launch the GPT builder, your one-stop shop for customizing your AI. Here, you can define its purpose, upload relevant data, and train it to become your personal expert.

4. On the GPT builder page, give your model a name and a clear description. This helps define its purpose. In our example, we’re creating a GPT named “ChicCars Assistant” to guide customers through renting the perfect car.
5. The interactive editor lets you provide a “prompt” to instruct the GPT builder. This prompt describes what the GPT will ultimately do. We’ll use this prompt: “Become a knowledgeable advisor, assisting customers in choosing the ideal rental car from ChicCars. Help them find vehicles that meet their needs while ensuring a win-win situation for both the customer and the company.”

6. The GPT builder allows you to provide any additional details that might help it understand your needs better. For example, you could specify the types of rental cars offered by ChicCars or desired customer service interactions.
7. Click the “Configure” button at the top of the builder to access advanced settings. Here, you can edit your GPT’s name or provide further instructions for even more granular control over its training.

Step 2: Feed Your Custom GPT with Knowledge
- Scroll down to the “Training Data” section and click “Upload Files.” This is where you’ll provide the information your Custom GPT will learn from. In our example, we uploaded a text file containing details about ChicCars’ rental car fleet.

- Once you’ve uploaded your training data, click “Save” in the top right corner. Now, decide who can access your Custom GPT. You can choose “Only people with a link” for a private assistant, or make it public for wider use. Finally, click “Confirm” to finalize your creation. This will kick off the process of syncing your data with the GPT builder, training your AI companion.

- Once your Custom GPT is trained, head back to the “My GPTs” page and locate your creation (e.g., “ChicCars Assistant”). Click the “View GPT” option from the drop-down menu. This will launch your AI companion, ready to answer your questions.
- Now comes the fun part! Start asking your Custom GPT questions related to its training data. In our example, you could ask “ChicCars Assistant, what type of car would be ideal for a weekend road trip?” and see how your trained AI responds.
How to Train ChatGPT with your own Data using ChatMason
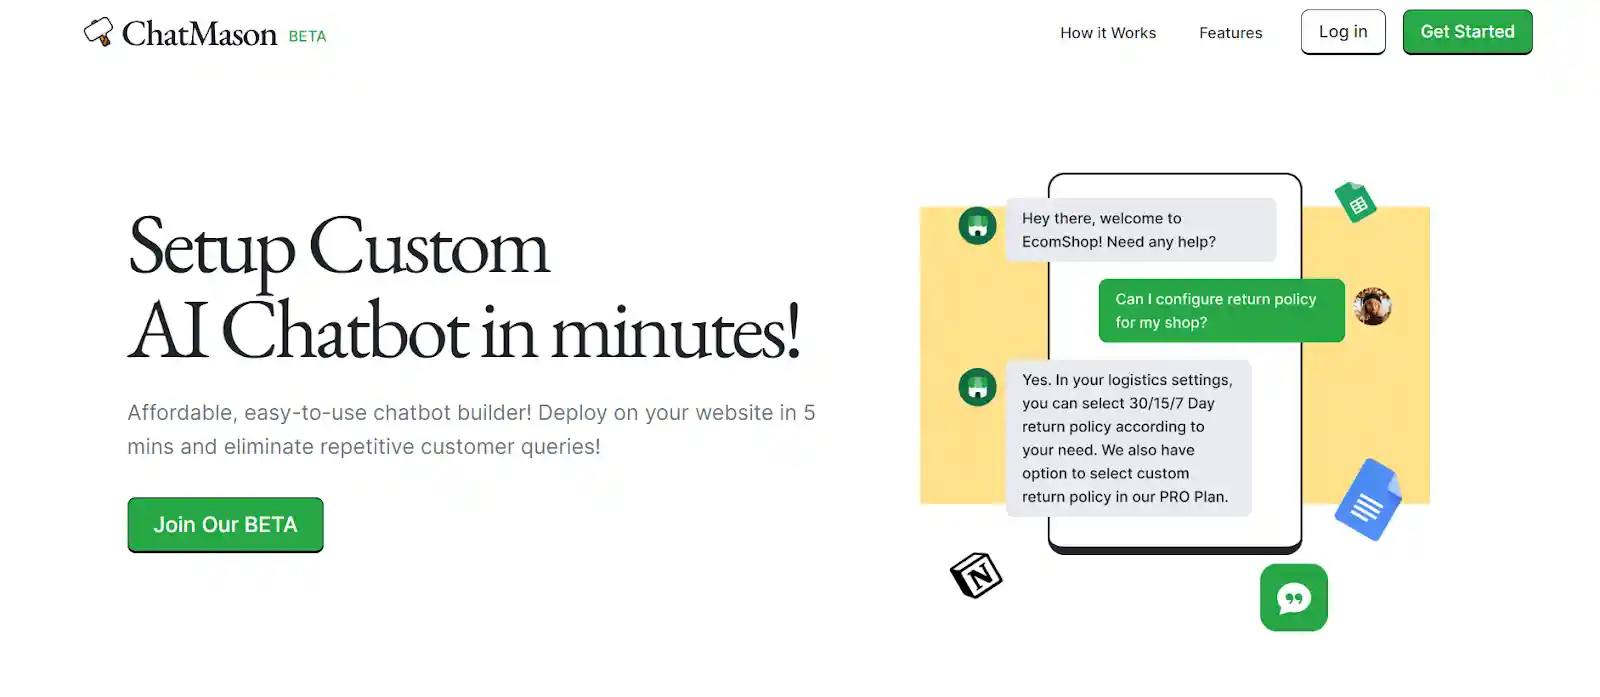
Forget complex coding! ChatMason offers an innovative no-code solution to empower anyone to build and manage their own chatbot. Train, configure, and deploy your chatbot seamlessly, all with your own data and without writing a single line of code. Built on the same powerful technology as ChatGPT, ChatMason streamlines the process, making it easier than ever to leverage AI for your needs. Whether you’re looking to enhance your business or personal endeavors, ChatMason tackles the challenges of integrating a ChatGPT-like chatbot seamlessly into your life.
Step 1: Get started with ChatMason in seconds! Simply enter your email and password to create your free account.
Step 2: After creating your account and logging in, you’ll land on the “Your Chatbot” page.
Here, click the “New Chatbot” button and give your chatbot a name. Your chatbot will be equipped with the powerful features of ChatGPT 3.5, and stay tuned – functionalities from the upcoming ChatGPT 4 version are on the horizon!

Step 3: Add Data Sources to Your Chatbot
ChatMason offers several ways to add data sources and fuel your chatbot’s abilities. You can directly upload training data from your device, leverage ChatMason to extract content from your website, or even paste or type data directly for specific needs. Additionally, ChatMason seamlessly integrates with a popular platform Google Drive, allowing you to effortlessly pull data, ChatMason will be allowed to integrate with Notion and Confluence in future, allowing to pull data from these sources as well. Once you’ve chosen your preferred data source, simply upload any necessary files and click “Train Chatbot” to watch your creation come to life.

Step 4: ChatMason allows you to build your training data directly within the platform. Simply click “Text” on the left sidebar, type your desired content in the provided area, and hit “Train Chatbot” to bring your creation to life.

Step 5: Turn your website into a training ground. Click “Website” on the left sidebar, paste your website URL in the designated field, and hit “Fetch Links.”
Once ChatMason gathers the information, simply click “Train Chatbot” to unleash the power of your website data.

Step 6: Leverage your Google Drive for training! Click “Google Drive” on the left sidebar to seamlessly connect your account and utilize its content as your chatbot’s data source.
Once integrated, simply click “Train Chatbot” to put your data to work.

Step 7: After selecting your data source(s), you’ll be taken back to your chatbot’s page, where you can begin interacting with your very own AI Chatbot.
That’s it! You’ve successfully set up your ChatMason chatbot. Now go forth and explore the possibilities of AI-powered conversation, all powered by your own data!
FAQs
1. Are there any downsides to training with your own data?
- Training with your own data offers benefits, but consider potential downsides: data bias reflected in responses, security concerns when sharing data with platforms, and potential costs associated with training and deployment.
2.Do You Need A ChatGPT Plus Account To Use ChatMason?
- Building your own chatbot doesn’t require a pre-existing ChatGPT or ChatGPT Plus subscription. This means you can create and train your chatbot solely using ChatMason’s platform, saving you time and potentially subscription costs.
3. How much data do I need to train a Custom GPT effectively?
- The amount of data needed for effective training depends on the complexity of your task and desired level of accuracy. Generally, more data leads to better results. However, ChatGPT or similar platforms may have limitations on upload sizes. It’s recommended to start with a focused dataset relevant to your specific needs and gradually add more data as needed to further refine your Custom GPT’s performance.
4. Can I collaborate with others on creating and training a Custom GPT?
- Yes! Collaboration can be a great way to enrich your Custom GPT’s training data. Depending on the platform you use, some may offer features to share access and editing permissions for your Custom GPT with other users. This allows teams to contribute relevant data and expertise, potentially leading to a more comprehensive and well-rounded AI assistant.